2-Piece MTB Mudguard Set: Front & Rear Spray Shield
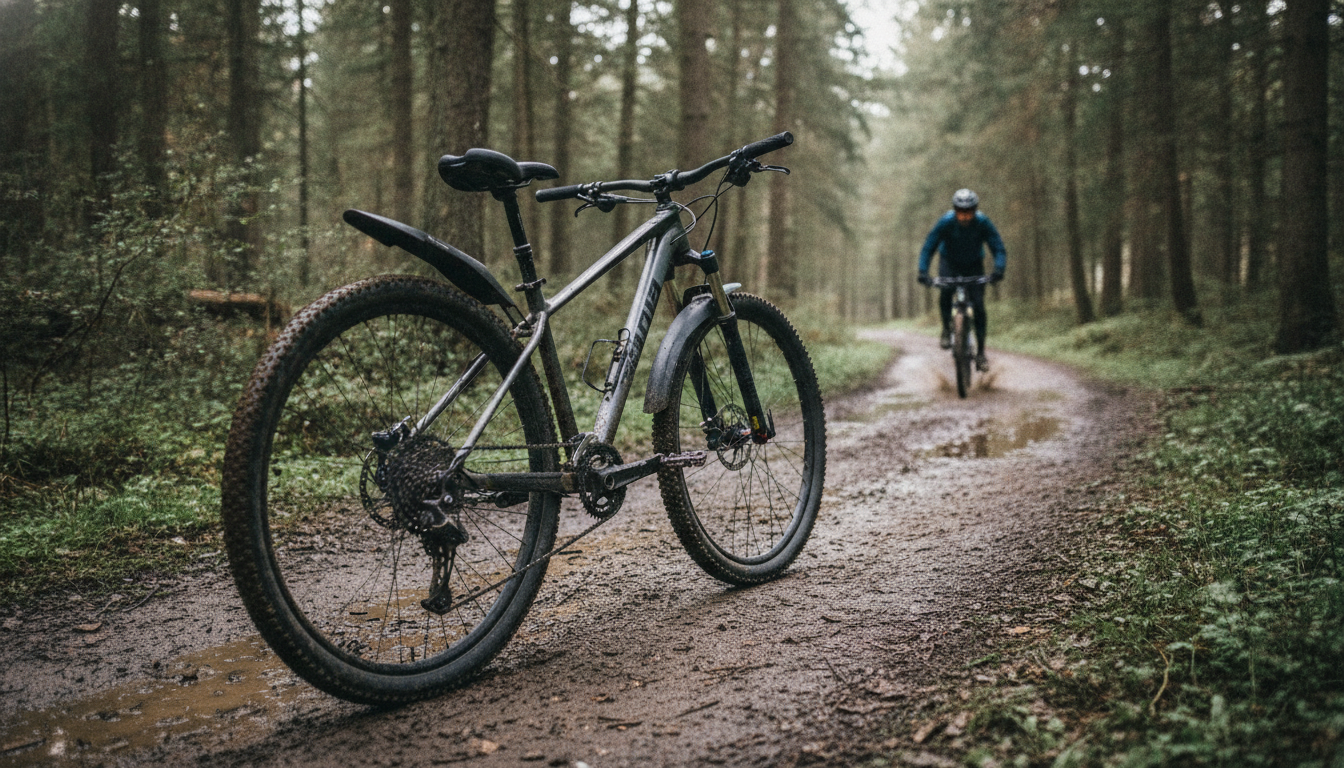
2‑Piece Mountain Bike Mudguard Set: Front & Rear Dust and Spray Protection
A reliable mudguard set keeps trail grit, puddle spray, and road dust off the rider, drivetrain, and suspension. This 2‑piece front and rear setup is designed for everyday mountain bike riding—helping maintain visibility and comfort in wet conditions while reducing cleanup after rides.
What a front and rear mudguard set changes on a ride
On mixed trails, a bike’s tires act like rotating paint rollers—flinging water, sand, and fine grit directly into the places that matter most: your face, your back, and the bike’s moving parts. Adding both a front and rear mudguard makes a noticeable difference on the first damp ride.
- Reduces spray up the rider’s back and face when rolling through puddles and wet soil
- Helps keep the drivetrain cleaner by limiting mud and grit reaching chainrings, cassette, and rear linkage areas
- Improves comfort in cold or rainy weather by cutting wind‑driven splash
- Protects frame finish and fork stanchions from abrasive grime that accelerates wear
- Makes post‑ride maintenance faster—less scrubbing and less water used during washdowns
Less grime in the wrong places also supports safer riding habits: clearer eyewear, better visibility, and fewer distractions when conditions turn sloppy. For broader riding safety guidance, reference the CDC’s bicycle safety recommendations and the NHTSA bicycle safety checks.
Set overview: front and rear coverage
A two‑piece design covers both ends of the bike, which matters because the spray pattern is different front to rear. The front tire throws water forward and up (toward your shoes, shins, and face), while the rear tire drives spray into your back, seat, and drivetrain area.
- Two pieces provide coverage at both ends of the bike—front to reduce face/leg spray, rear to reduce back and drivetrain spray
- Best suited for trail riding, mixed paths, commuting on a mountain bike, and shoulder-season conditions
- Works especially well when paired with appropriate tire pressure and tread for the day’s terrain
For riders who rotate between weekday pavement and weekend singletrack, this style is a practical middle ground: more coverage than a minimalist fork guard, without the bulk of full commuter fenders.
Key fit checks before buying
Most installation frustrations come down to clearance and mounting compatibility. A quick pre‑check saves time and helps ensure the guards stay quiet and rub‑free.
- Wheel size compatibility: confirm the set matches common MTB sizes (often 26/27.5/29) and that there is clearance around the tire
- Fork and frame clearance: ensure enough space between tire and arch/bridge areas, especially with knobby tires
- Seatpost and rear triangle geometry: check that the rear mudguard mounting method suits your seatpost diameter or frame mounting points
- Brake and cable routing: verify the guard won’t rub on brake hoses, shifter cables, or dropper-post routing
- Riding style: aggressive downhill mud conditions may need deeper coverage; light trail and city use often does well with a compact guard
If you regularly run high‑volume tires, prioritize clearance checks at the fork arch and inside the rear triangle—especially if your bike sees sticky clay that can pack onto tread blocks.
Materials and durability: what to look for on trails
Mountain biking puts accessories through constant vibration, occasional impacts, and repeated washdowns. A good mudguard isn’t just “plastic”; it’s a shape and material balance that stays stable when the trail gets rough.
- Flexible plastics can absorb small impacts and vibrations without cracking
- Stiff profiles hold shape better at speed and reduce rubbing against the tire
- Hardware quality matters: bolts and clamps should resist loosening from trail chatter
- Edge design affects splash control—longer tails and shaped lips can improve spray deflection
- A good mudguard should stay stable during drops and berms without shifting into the tire
Look for a design that stays centered over the tire. Even minor side-to-side movement can create intermittent rubbing, especially when the wheel flexes under hard cornering.
Installation basics and setup tips
Quick setup checklist
| Step | What to check | Pass criteria |
|---|---|---|
| Front alignment | Guard centered over tire | No rubbing when wheel spins freely |
| Rear alignment | Guard clears tire and stays stable | No contact during bumps or turns |
| Cable clearance | Hoses/cables not pinched | Full handlebar turn without snagging |
| Suspension clearance | Compression clearance | No contact at full travel |
| Fastener security | Bolts/clamps snug | No movement after a short test ride |
Care and maintenance for consistent performance
When this 2‑piece set is a strong choice
Product picks (in stock)
- 2-Piece Bicycle Mudguard Set for Mountain Bikes – Front & Rear Dust Protection ($19.82) – Balanced front and rear spray control for dusty paths and wet trails.
- Car Safety Inspections eBook: Ultimate Guide for DIY Checklists, Tools, and Tips ($14.99) – A checklist-style guide for DIY-minded riders who like keeping their vehicles dialed and ready.
FAQ
Will a front and rear mudguard set fit a 29er mountain bike?
It can, as long as the set supports 29-inch wheels and you have enough clearance at the fork arch and rear triangle for your tire width and tread. Before installing, check spacing with the suspension compressed to ensure the guard won’t contact the tire.
Do mudguards slow a bike down on trails?
Any added weight or aerodynamic effect is typically minor for trail speeds. The bigger performance benefit is reduced spray and grit, which can help the drivetrain stay cleaner and run more efficiently in wet conditions.
How should mudguards be positioned to stop back spray?
Position the rear guard so it extends behind the seat tube and aligns with the tire’s spray line while staying centered over the wheel. Confirm it remains stable and rub-free through bumps and, if applicable, during full suspension compression.











Leave a comment